Menu Configurations
Resolut POS supports multiple configured menus (menu profiles) that can be changed in the configuration.
Under Menu Configuration it is possible to quickly change the navigation menu in the interface, or by editing a text file. Text can also be pasted into the text area.
-
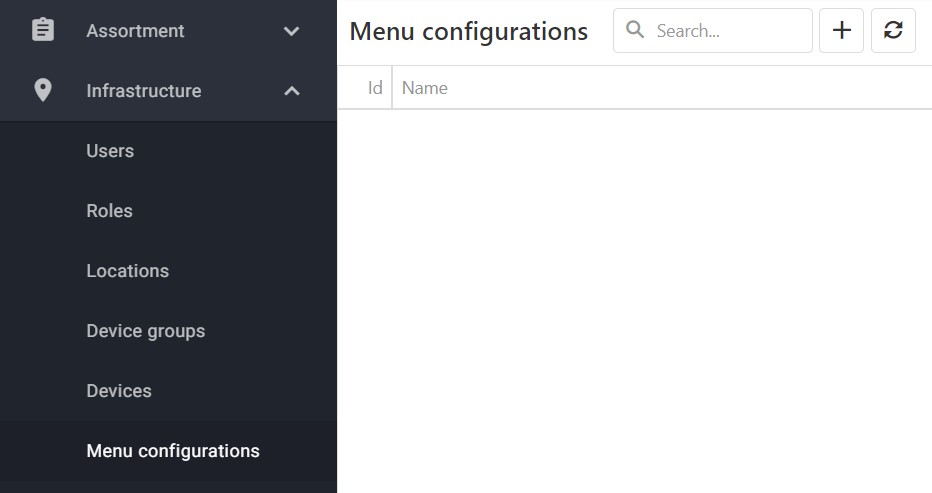
In the Resolut Online Portal, Go to Infrastructure > Menu Configurations and click + to create a new Menu configuration.
-
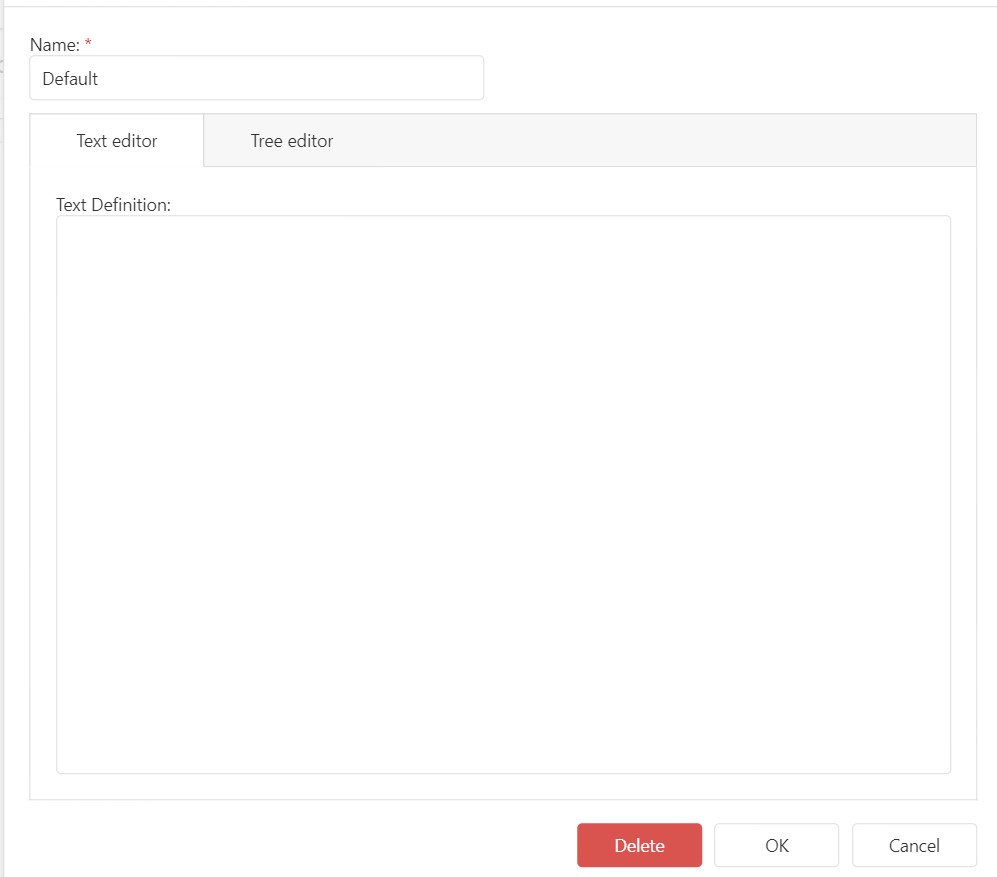
Give the configuration a Name and enter a Text Definition in the Text Editor.
-
The menu text has the following structure:
\$Profile=Default

@Main\|Main

1\|App\|AppSignOn\|Text\|Sign-on

2\|App\|AppSignOff\|Text\|Sign-off

3\|App\|AppOpenDrawer\|Text\|Open drawer

@MainOptions\|MainOptions

1\|App\|AppBrowseJournal\|Text\|Journal viewer

@Handies\|Handies

1\|App\|AppPrintLastSalesTicket\|Text\|Last receipt copy

2\|App\|AppCalculator\|Text\|Calculator\|IconId\|1002
The first line should always start with \$Profile=\<name\>, this is the name of the menu which can be configured in the parameter .
There are a few pre-defined menu names:
@Main the main menu.
@MainOptions the menu behind the options (^) button.
@Handies the menu that opens on top-left (V) button.
@Sales the sales menu.
@SalesOptions the menu behind the options (^) button in the sales screen.
@Payments the menu in the payment screen
@Boardingcard the menu in the boarding cards screen (airports only)
@BoardingcardOptions the menu behind the options (^) button
Each menu can have one or more buttons in the following format where the parameter and icon id are optional:
<button>|<button action>|<Command or menu>|(Parameter | VALUE)|Text|<menu text>|( IconId |<number>)
This example sets the 4th button with command AppSales and Text “Sales” with icon 12:
4|App|AppSales|Text|Sales|IconId|12
This example sets the 4th button with command AppSales and Text “Sales” with icon 12:
8|Menu|OptionsMenu|Text|Other options|IconId|20
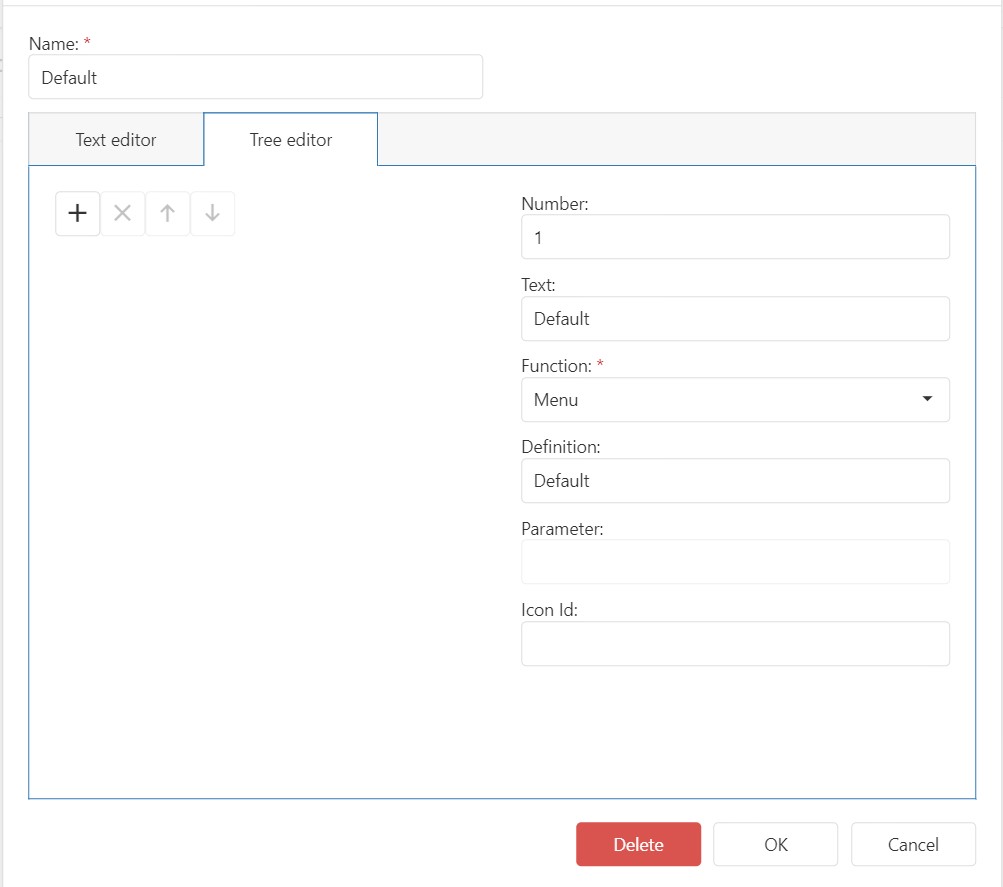
- In the Tree Editor, make sure the Configuration has a Function assigned. You can also edit the Number, Text, Definition and Icon ID. Click OK to create the configuration.