Create a Piggy Contact
It is possible to create a Piggy contact, and link an identifier to it, directly in POS4.
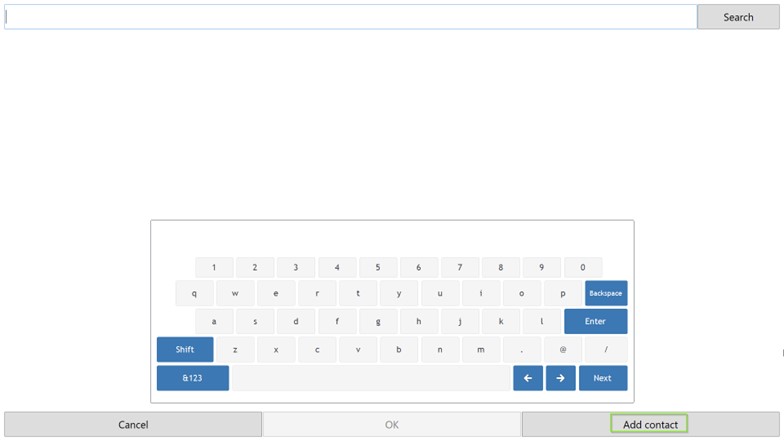
Create a Contact
Select Functions > Piggy. The contact search window will appear. Select Add contact.
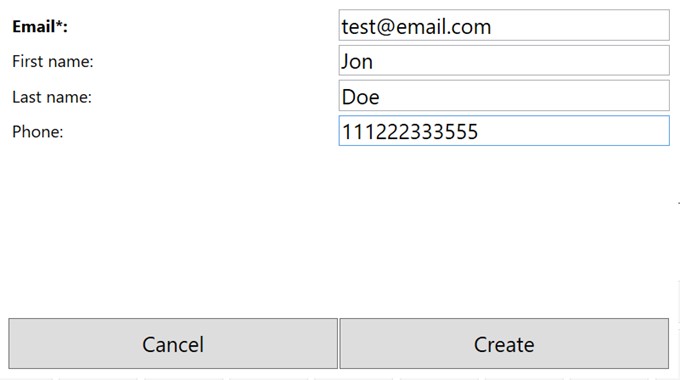
In the “Add Contact” form, only the Email field is mandatory. Only one Piggy account can be created per email address.
Fill in the additional fields if needed, and select Create to save the contact.
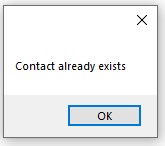
If the email address has already been used, the message “Contact already exists” is shown:
Link Identifier
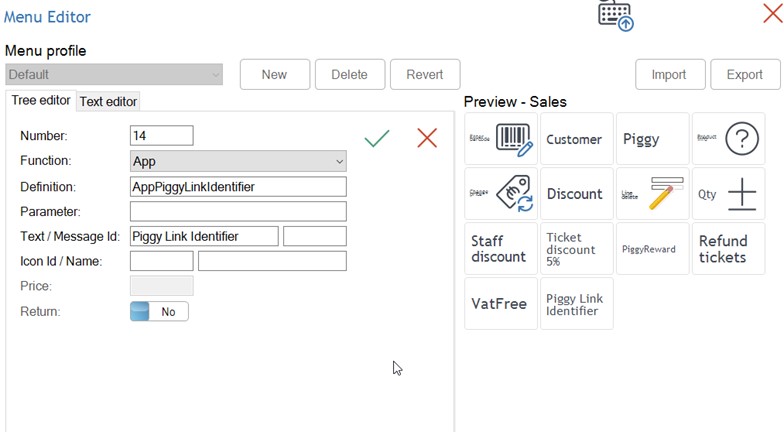
In the Menu editor, add a new button to the Sales menu. The definition is AppPiggyLinkIdentifier.
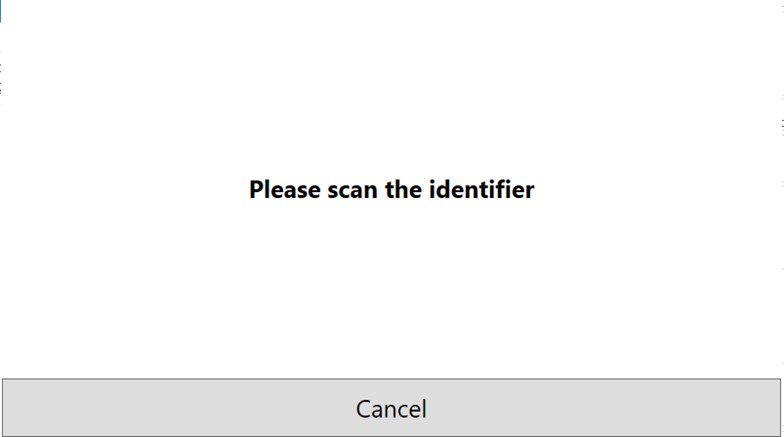
Then from the Sales menu, once a Piggy contact is selected, a link identifier can be assigned by selecting Piggy Link Identifier.

The “Please scan the identifier” popup window appears. Scan the identifier with the scanner.
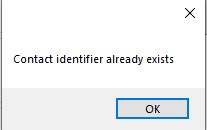
If the link identifier has already been used, the message “Contact identifier already exists” is shown:
If the linking was successful, the Piggy contact can now be selected from the Sales Screen by scanning the linked identifier.