Company Settings
You can adjust your back office settings under Configuration > Company Settings.
Company Settings
This section contains a number of settings that can be adjusted:
- POS menu
- Receipt printing mode – Use the drop-down menu to select when a receipt should be printed.
- Sale mode – Use the drop-down menu to select the sale mode
- Multi sign-on - Use the drop-down menu to select whether multiple users can be signed-on at once.
- Ask remark on Parking – Check the checkbox to prompt with a Remark field before parking a ticket.
- Ask merge on Parking – Check the checkbox to prompt with the option to merge tickets when parking a ticket.
- Ask print invoice – Check the checkbox to ask before printing an invoice.
- Print Merchant copy mode – Use the drop-down menu to select when a Merchant copy is printed.
- Print customer area – Check the checkbox to enable printing the customer area.
- Group sale lines – Check the checkbox to group sale lines together by item.
- Use VAT – Check the checkbox to enable VAT.
- Restrict tag menu to location group – Check the checkbox to restrict the tag menu.
- Kitchen distribution policy - Use the drop-down menu to select whether distribution of kitchen orders is done via the POS or BOS.
- Kitchen Policy - Use the drop-down menu to select kitchen orders are distributed between multiple kitchen screens/printers
- Print remark area for kitchen – Check the checkbox to enable a remark field for kitchen tickets.
- Kitchen receipt count – Enter the number of kitchen receipts.
- Receipt barcode mode - Use the drop-down menu to select how barcodes are displayed on receipts.
- Transaction booking time – Enter the required time for the end of the fiscal day.
- Order printing policy - Use the drop-down menu to select the format for printing order numbers.
- Use local parking – Check the checkbox to enable local parking of tickets.
- Ask deposit remark - Use the drop-down menu to select whether a remark should be added when making a deposit, and whether it should be optional or mandatory.
- Ask discount remark - Use the drop-down menu to select whether a remark should be added when applying a discount, and whether it should be optional or mandatory.
- Numeric input format - Use the drop-down menu to select a numeric format. Choose from either decimals (1.50 euro) or integers (150 cents).
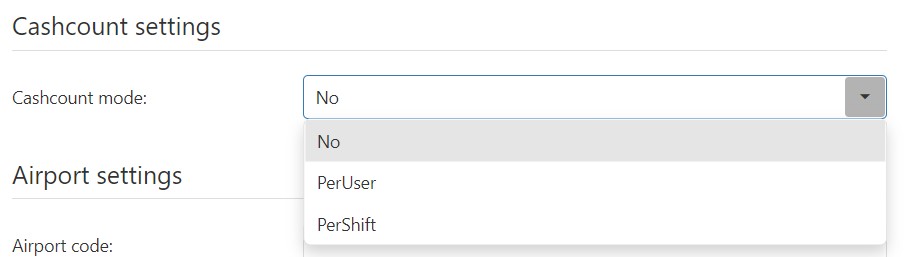
Cashcount Settings
Use the drop-down menu to select if a cashcount should be made, and also whether it should be performed for every user separately, or only for each shift.
Airport Settings
Set your Airport Code and choose a Price line EU for EU countries and Price line non EU for countries outside the EU.

Customer Display
Upload images for the customer-facing screens. Click Select image (Sale) for the sales screen, Select image (Idle) for the idle screen and Select image (Sale background) for the sales screen background.
Images should be no larger than 2Mb and should be .bmp or .png files.
Enter a value in “Image change interval” to adjust how quickly customer images will change. The value must be between 10-300 seconds.
These settings can be changed for individual location or devices.

BOCA Printing
Click Add a template to upload a template for your BOCA thermal printer.

Company ID
Use this field to enter a Company ID, if needed.