Add Item Button
To add an item to the receipt the command AppSaleItem can be used, and this command has two variants:
| Parameter | Description |
|---|---|
AppSaleItem |
Adds the item set in the parameter to the receipt. |
AppSaleItemMainMenu |
When the item is added the application returns to the sales menu. This is useful when menu groups are used and the user prefers to return directly to the sales menu instead of pressing the back button. |
AppSaleItemReturn |
This will add the item to the receipt as ‘returned’. |
The command will not work without a parameter specifying which product should be added:
| Parameter | Description |
|---|---|
ItemId |
Numeric only - specifies the item id i.e. 10090 will add item 10090 to the receipt. |
#AltItemId |
Adds the item id to the receipt that has this alternate item id set. Please note that this id is not unique, in case multiple items has the same alternate item id the first found record will be added. Example #XX-1111 will add the item to the receipt with this AltItemId. |
@Barcode |
Adds the item id to the receipt with the given barcode, for example @871234567890123 will find this barcode and add the item to the receipt. |
To add a button to the payment screen:
-
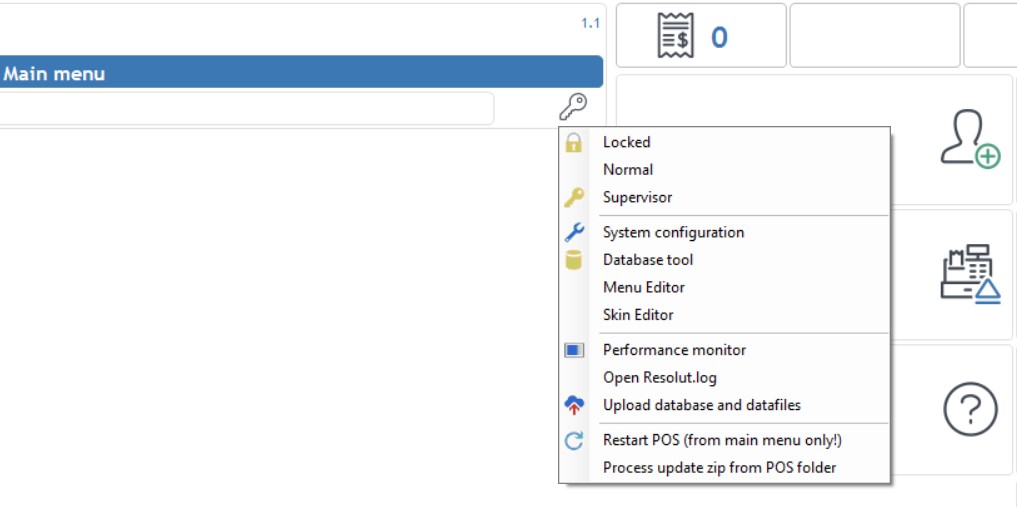
Hold Shift + Right Click on the key button to open the configuration window, and select Menu Editor.
-
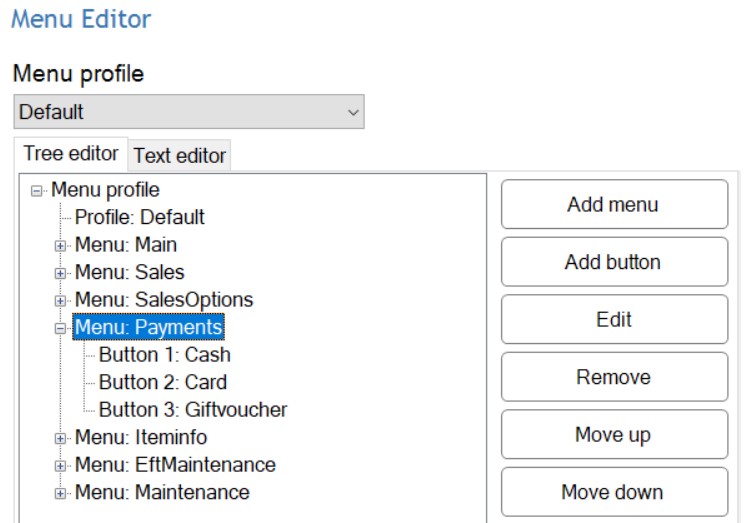
Choose a menu, for example; Menu:Payments, then Add button.
-
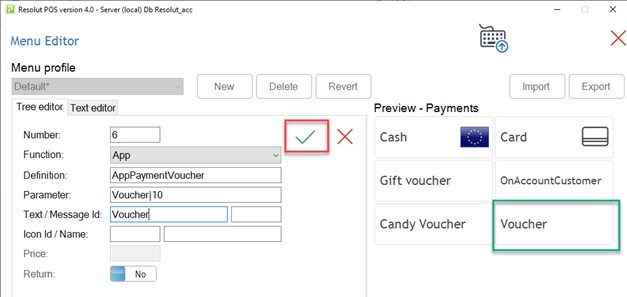
Fill in the required parameters. The button is shown in “Preview – Payments”, click the green tick to confirm.
-
The button is added to the menu. Click the green tick to confirm again.

-
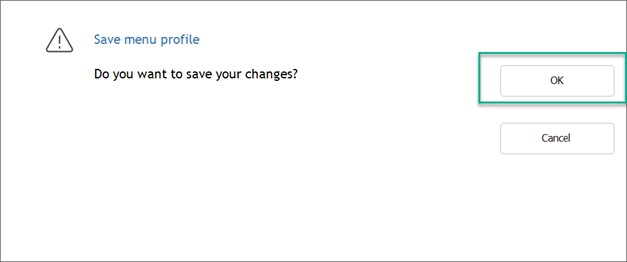
Click OK.